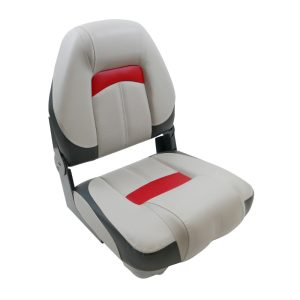
Boat seats are due for replacement when weather damaged or when you fancy upgrading to comfortable ones.
Most seats are straight forward to replace – just align the four standard fixing holes and fix in place with the supplied screws. In this guide we also attach a seat slider and height adjusting pedestal. This combination of aft, fore and height adjustment allows comfortable reach of the steering / console panel, and also enhances safety when underway.
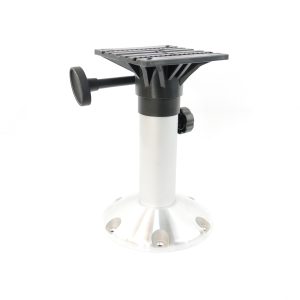
We have used three products in this guide:
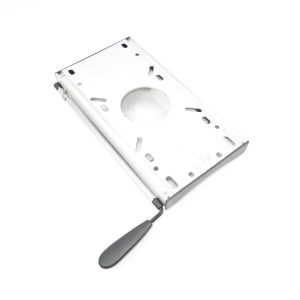
Parts of the Slider
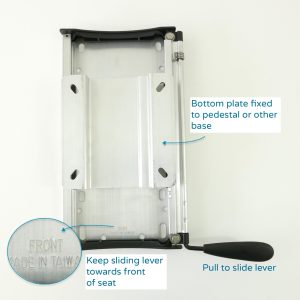
The seat slider fits between the seat and pedestal. Slider is constructed of two plates which slide over each other when the ‘pull to slide lever’ is engaged. The top plate attaches to the seat, and bottom plate attaches to a pedestal, swivel or fixed base. 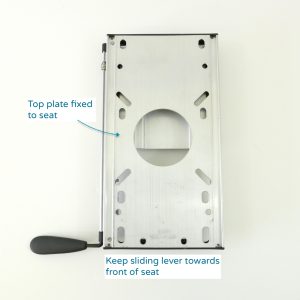
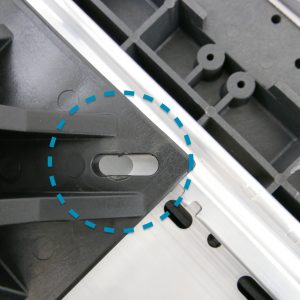
When fixing to the seat, ensure the ‘pull to slide lever’ is aligned to the front of the seat. This keeps the lever’s position just under the front of seat on the right hand side.
As a reminder the word FRONT is engraved on to the lever side as shown in the picture.
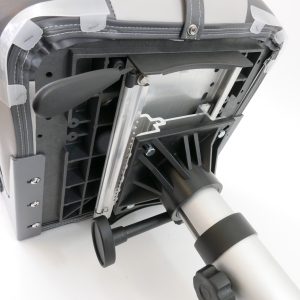
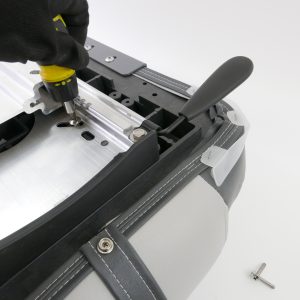
Fixing slider to the seat
We attached the slider to the seat using the standard four square slots and fixed with screws that came with the seat. To access all screw holes on the slider, use the lever to release the lock and move the sliding plates to either extreme ends
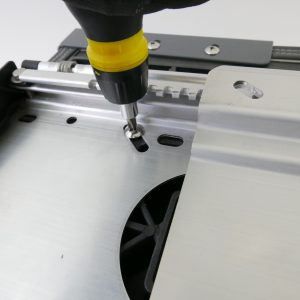
Fixing the pedestal
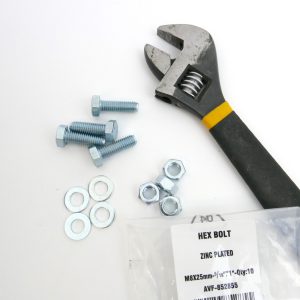
Fixing bolts are not supplied with the pedestal, so we used M8X25mm hex bolts with nuts and washers, bought from our favourite DIY shop. We noticed 25mm bolts are the right length, as anything longer or shorter would not suit.
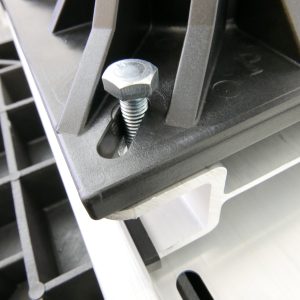
The fixing holes on the pedestal aligns neatly with the four slotted holes on the slider’s bottom plate.
This step will require some dexterity.
While holding the bolts in place, tighten the nuts with a spanner. There is just enough assess via the side of the slider groove to get a spanner in and tighten the bolts.
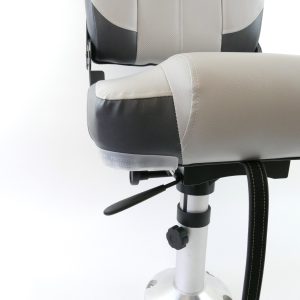
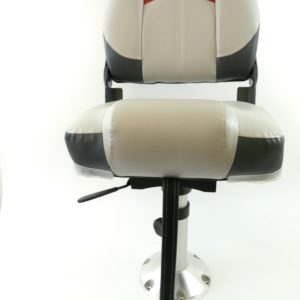
Finished Assembly
Finally we recommend some grease on the sliding carriage, to keep slider running smoothly.